




If your WordPress site is not sending emails, you’re not alone.
This is one of the most common issues beginners face.
By default, WordPress uses the PHP mail function, which is unreliable on many hosting servers. The solution is simple: set up SMTP (Simple Mail Transfer Protocol).
In this guide, you’ll learn how to properly configure WP Mail SMTP with Gmail, so your emails (contact forms, notifications, etc.) actually get delivered.
🔧 Install WP Mail SMTP Plugin
- Go to Dashboard → Plugins → Add New
- Search for WP Mail SMTP
- Click Install Now & Activate
⚙️ Launch Setup Wizard
Go to WP Mail SMTP → Settings Click Launch Setup Wizard Choose Google / Gmail as your mailer
🔑 Get Client ID & Client Secret
To connect Gmail with WP Mail SMTP, you need:
- Client ID
- Client Secret
These are created from your Google Cloud Console.
☁️ Open Google Cloud Console
Log in to your Google account and open your Google Cloud Console.
Creating or Choosing a Project
Click on the project dropdown (top bar)
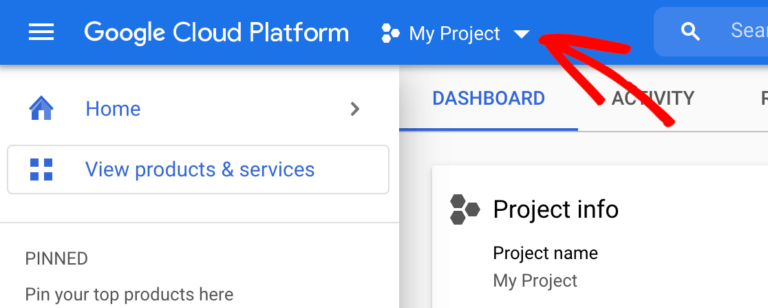
Select an existing project or click New Project
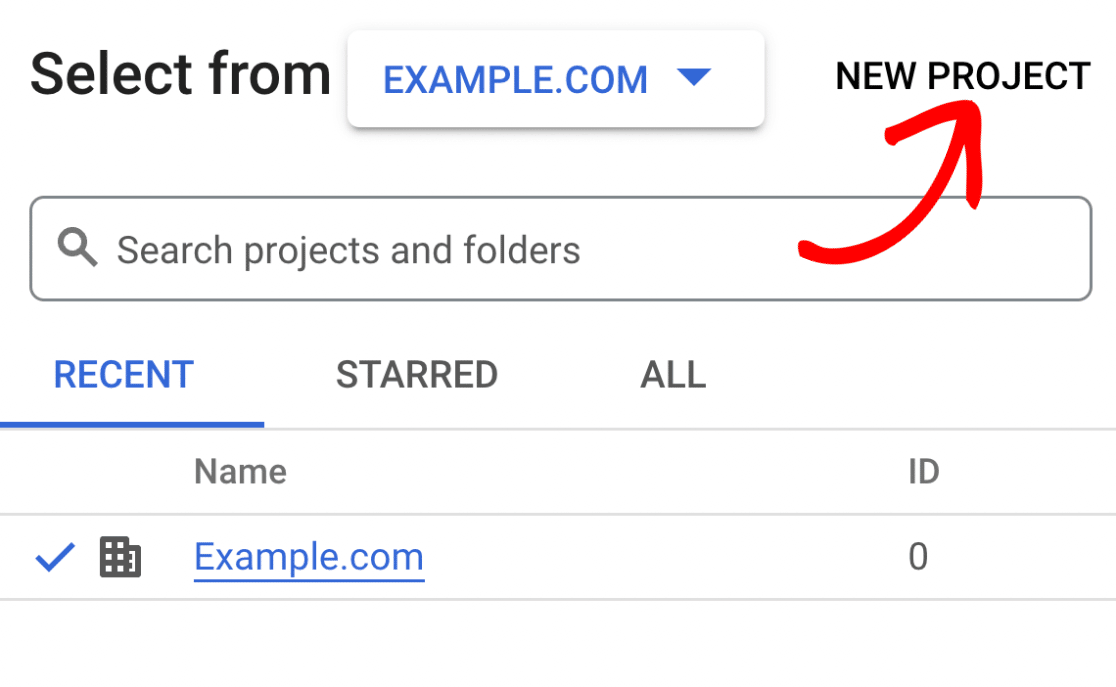
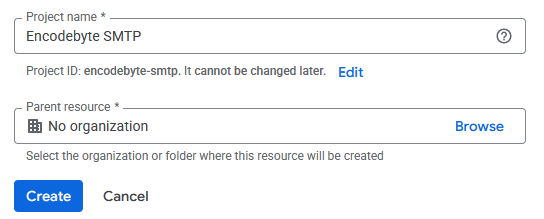
Enter a project name, Click Create
Enabling the Gmail API
Next, you need to enable the Gmail API for your project. In your Google Cloud Console sidebar,
Go to APIs & Services » Library.
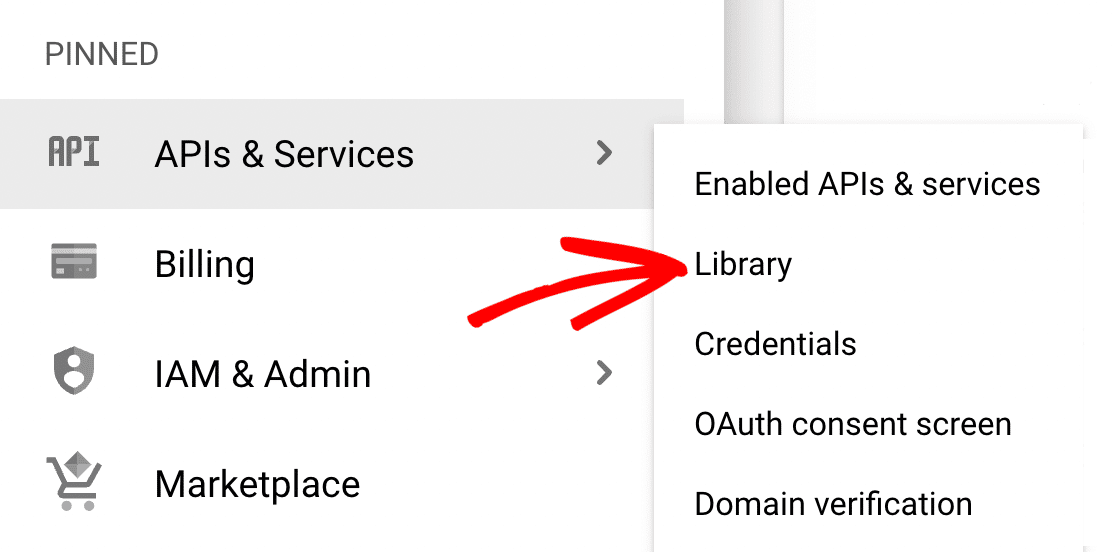
enter “Gmail API” in the search bar.
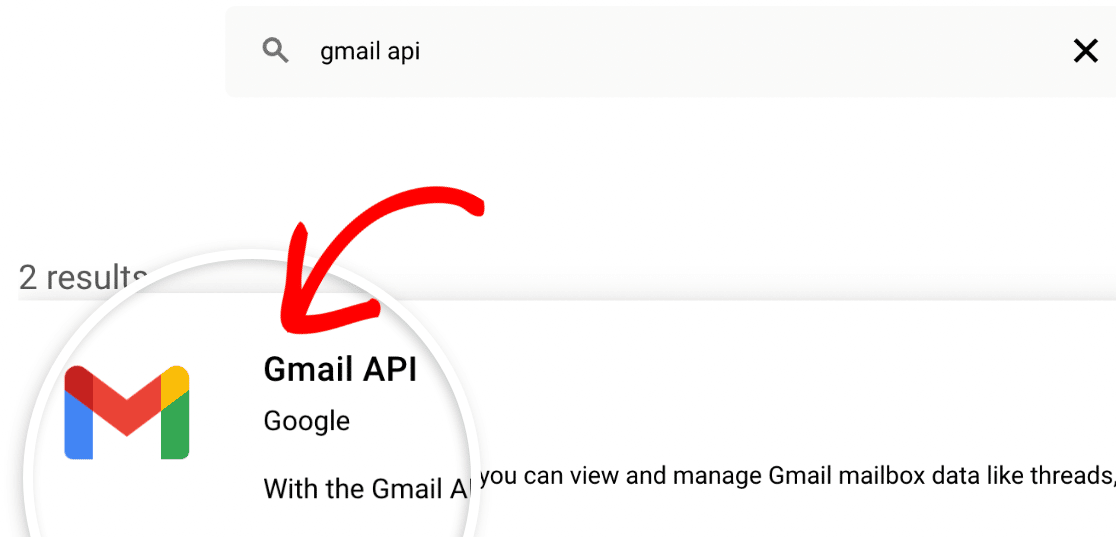
On the Gmail API page, click on the blue ENABLE button.
Creating Your Application’s Credentials
After you enable the Gmail API, you should be redirected to the Gmail API Overview page. Here, click the Create credentials button.
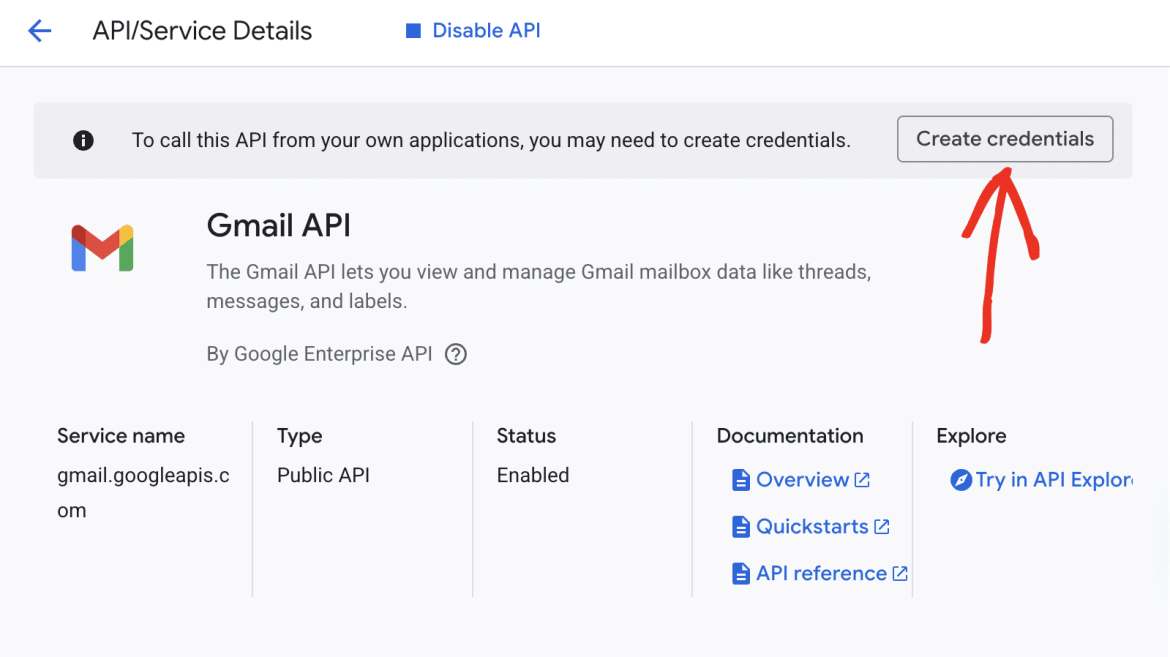
On the next page, choose Gmail API & select the User data option. Then click the NEXT button to proceed.
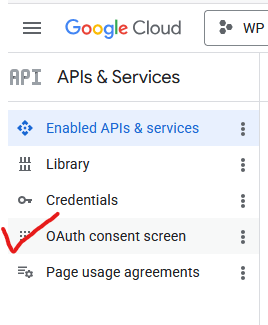
From the left Choose OAuth concent Screen. and follow the steps
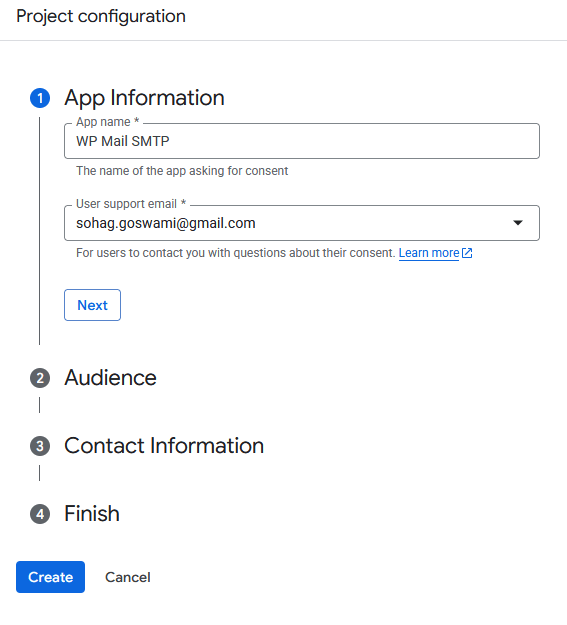
Setting Up Your OAuth Client ID
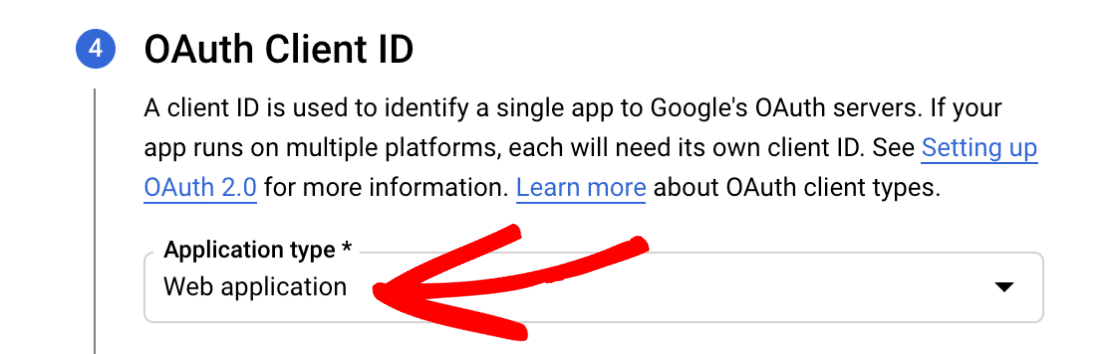
Next, you’ll need to fill out some information about your OAuth Client ID.
select the Web application option
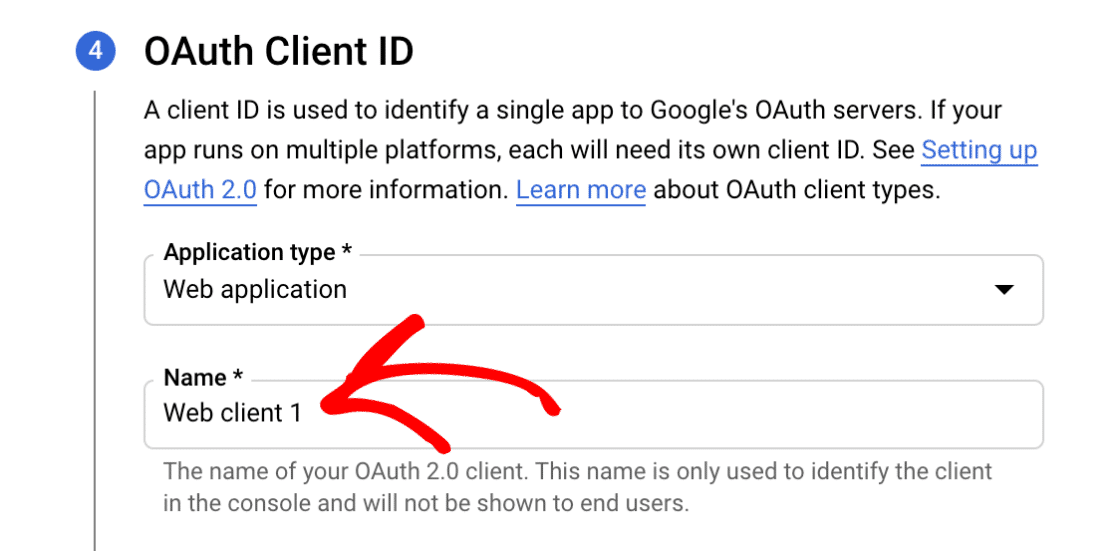
You can leave the Name field as the default value or change it to something more relevant
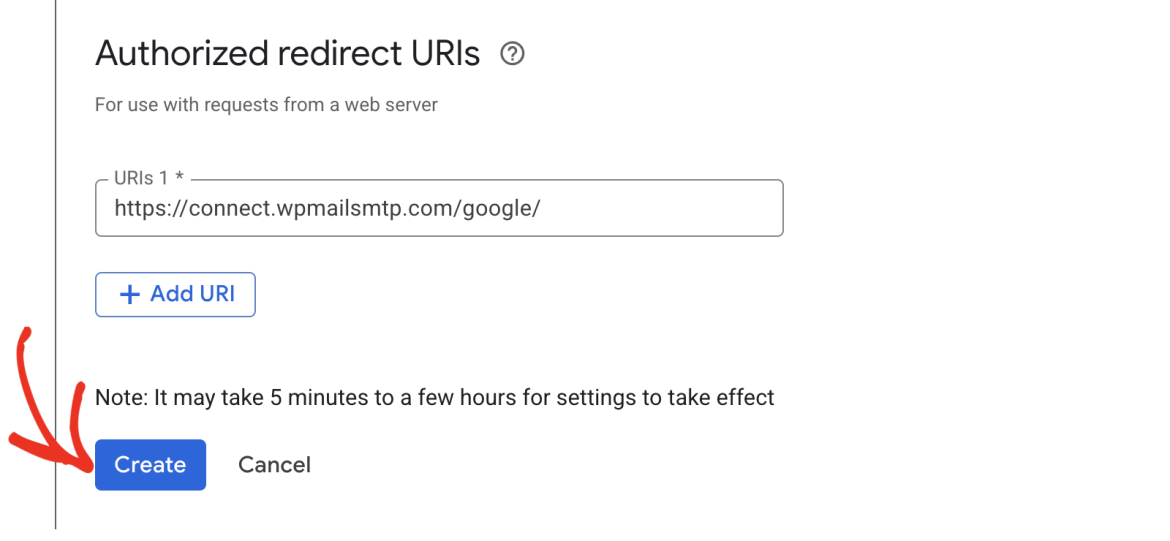
Next, skip the Authorized JavaScript origins section and scroll to Authorized redirect URIs.
Then click the Create button to complete this step.
Once your app has been created, the Your Credentials section will expand to show you your Client ID.
Next, the final step.
Nevigate to APIs & Services > OAuth consent screen > Audience

Next, navigate to APIs & Services » Credentials in the left side menu.
🔑 Copy Credentials
After creation:
- Copy Client ID
- Copy Client Secret
🔄 Connect WP Mail SMTP
- Go back to WP Mail SMTP Setup Wizard
- Paste:
- Client ID
- Client Secret
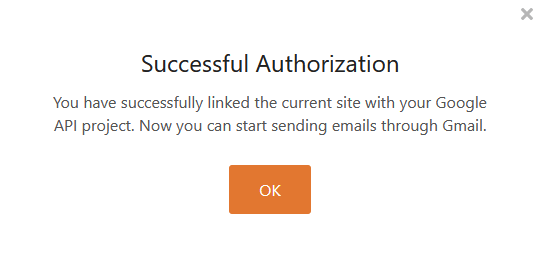
- Click Connect to Google
- Allow permissions
📩 Send Test Email
- Go to WP Mail SMTP → Tools → Email Test
- Enter your email
- Click Send Email
If successful, your SMTP is working perfectly.