Follow the steps below to merge videos in Windows 10 in an easy way:
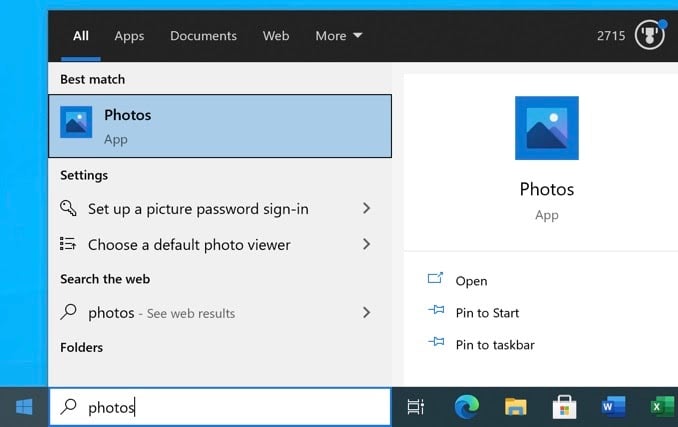
- Open the Start menu, search for Photos, and select Photos from the search results.
- Select New video at the top and choose New video project. This starts a new project to merge your videos.

- When prompted, enter a title for the project or use the default name. Select OK.
- Select Add and choose From this PC to upload a video from your computer.

- Select the videos you want to merge in the File Explorer window that opens. Press and hold down Ctrl to select multiple items.
- Your imported videos are now available in Photos. Select the first video and choose Place in the storyboard to add the video to the timeline.

You can also just drag the video from the Project library and drop it in the bottom Storyboard section.

- Repeat Step 6 for all videos.
- Once all the videos have been added to the storyboard, you can drag and drop your videos in the Storyboard section to change their order.
- Select Finish video at the top-right of the Photos window.

- Select High from the Video Quality dropdown menu, and then select Export.

- Choose a folder to save the merged video and select Export at the bottom.
Have Fun !