Looking for a way to upload APK file in WordPress website? If so, then you have come to the right place.
In this article, I’ll teach you how to allow WordPress to upload any file type. So, let’s begin.
This is a list of common file extensions that you may easily add to your website.
- Images: .jpg, .png, .gif, .jpeg, ico
- Documents: .pdf, .doc, .ppt, .odt, .xls, .psd
- Audio: .mp3, .m4a, .ogg, .wav
- Video: .mp4, .mov, .avi, .mpg, .ogv,. .3gp, .3g2
You will see the error shown below if you attempt to upload a file with an extension other than these.

Today I will show you how to upload APK file in WordPress.
Method 1: My Favourite
- Go to your Cpanel, and open file manage.
- Create a folder named app at the root of your domain.
- Upload the APK file inside the folder. And it’s done.
- APK download link will be like https://encodebyte.com/app/ebyte.apk
Method 2:
- Go to your Cpanel, and open file manage.
- Find the Public_html folder and click to open.
- Find the wp-config.php file by swiping it down, and click Edit.

Now add the following code at the end of the wp-config.php and click the save changes button. See the image below for reference.
define('ALLOW_UNFILTERED_UPLOADS', true);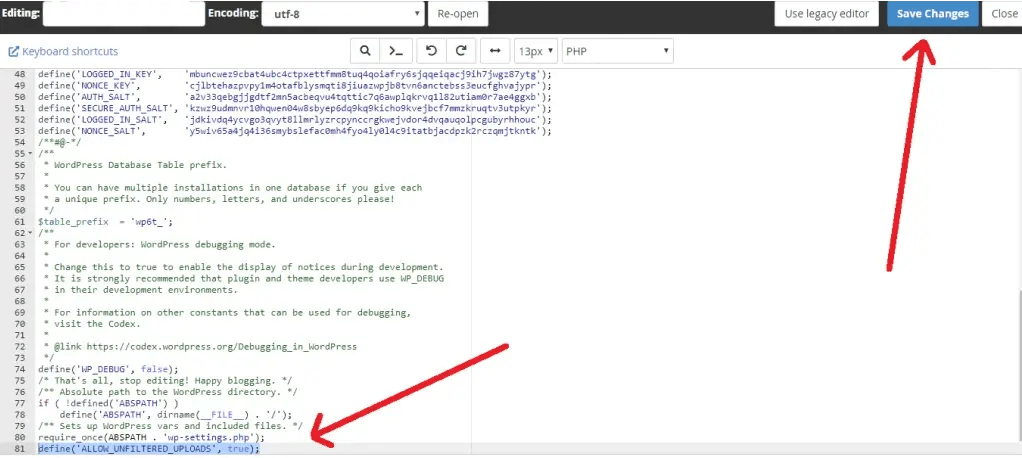
Click on Save Changes, and that’s it. Now you can easily upload APK file in WordPress
Method 3:
Step 1: Log in to your WordPress Dashboard.
Step 2: Go to Appearance >> Theme File Editor
Step 3: Add this code to your theme functions.php
add_filter('upload_mimes', 'allow_custom_mimes');

function allow_custom_mimes ( $existing_mimes=array() ) {
// ' with mime type 'application/vnd.android.package-archive'
$existing_mimes['apk'] = 'application/vnd.android.package-archive';
return $existing_mimes;
}
Click on Update File, and that’s it.
How to Allow All File Types in WordPress?
You may add any file type to your WordPress website by simply following these steps.

Login to your WordPress dashboard and then Navigate to Plugins » Add New Plugin. Next, use the search field to look up File Upload Types by WPForms, and then click Install and Activate.
Enable File Types on Your Site
You can do this by heading to Settings and selecting File Upload Types. The plugin will then display a list of file kinds, including their description, MIME type, and extension.
Simply enable any file formats you wish to accept on your WordPress site and click Save Changes.

Add a Custom File Type
Can’t find your desired file type in the list? Don’t worry, because the File Upload Types plugin allows you to add custom file types.
Scroll down and you’ll see an opportunity to enter a custom file type. Simply enter the file’s description, MIME type, and extension and click the addition (+) sign.
When you are finished with your new custom file extension, click Save Settings.

Congratulations!
You can now upload all file formats to your WordPress site.